If you have pfSense deployed in a business environment, you may have the need for users to be able to change their own account passwords. Some of you may be wondering, why would my users even have an account on my router? The answer, at least in my daily life, would be OpenVPN.
By default, pfSense doesn't allow anyone but the admin user to login, but this guide will show you how to enable a password change page for your non-admin users without allowing them access to any other part of your router configuration.
Enable User Password Changes
Login to pfSense, navigate to System -> User Manager, click on the Groups tab and click Add.
On the Group Properties screen, enter a group name such as PasswordChange. Then add any existing non-admin users to this group by selecting them and clicking Move to "Members". Once you have all of your users added, click Save.
Back at the Groups screen, click the Pencil Icon of the newly created group.
Under Assigned Privileges, click Add.
Select Webcfg - System: User Password Manager, click Save and you're all done.
Testing the User Password Page
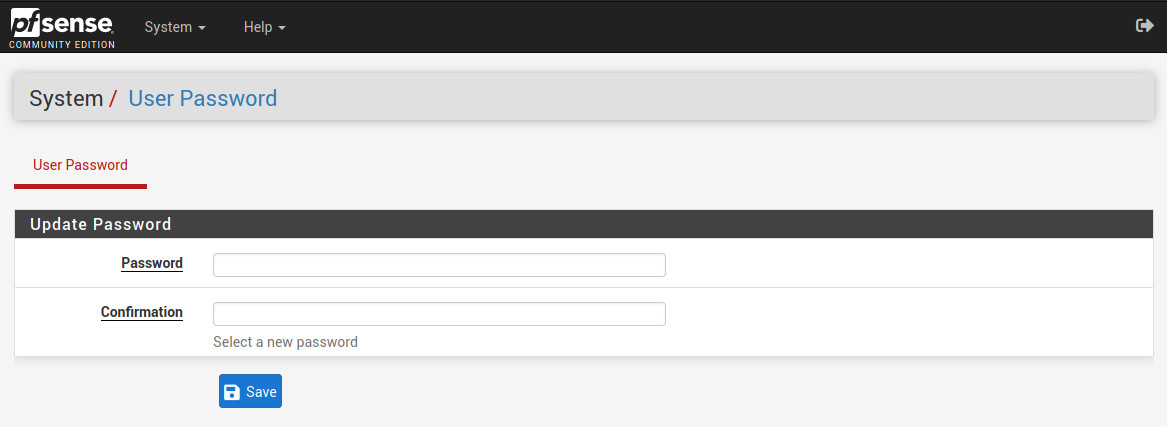
With the setup complete, logout of pfSense, log back in with a non-admin user account and you will now be prompted with the following Update Password page.
*TIP: When adding any new user accounts, remember to add them to the password change group.
 :
: